Best Practices
Before you begin using multiple languages in your projects, we thought we would start you off with a few best practices for using project terms and translations.
As you already know, there are global level translations which are available to all components and text elements in both the Translatable Terms Panel and the global database, and component level translations that are only specific to the component and only available in the Translatable Terms Panel. It's good to understand a little about their behavior before investing a lot of manpower setting up your translations only to find out down the road that you might set them up differently after you become more familiar with them.
Global vs Component
We recommend using global terms over component level terms because this way you will only have to add your term once since global terms are shared across all windows and projects. This will save you a little time from having to add the same term again if you discover that a component level term should extend beyond the specific component and shared across all projects. The only time you would want to use a component level term, is if you want it to be different from the global level term. This ensures that the component level term will override the global term.
Where the component level term takes precedence
The component level term always takes precedence when there is a matching global term.
Using Codes
It's a good idea to use codes for the Key field of your Terms for any descriptions that you want to translate.(i.e: #introduction or #welcome_screen_info) so your global term won't ever accidentally translate on another window or component. (The '#' is just for convention, and is not a special character). Using codes works particularly well for long text strings such as introduction paragraphs. One thing be very careful of is if you edit the codes in a minor way, it could potentially break the translation.
Here are a couple of examples:
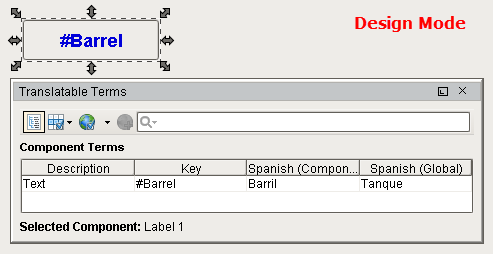
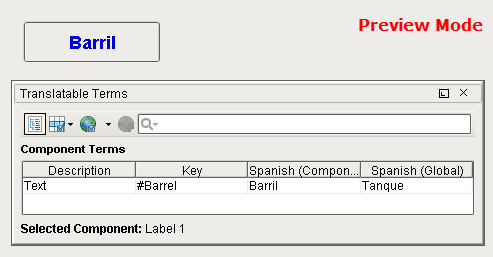
The first example is of a Label component with a Key field of "#Barrel." You'll notice the Label has global translation of "Tanque" and a component level translation of "Barril." By using the "#," the component level translation of "Barril" was not overwritten by the global translation of "Tanque" by using the "#." Here is what the translation looks like in Design Mode and Preview Mode.
The "#" can also be used on components for text that you don't want accidentally translated.
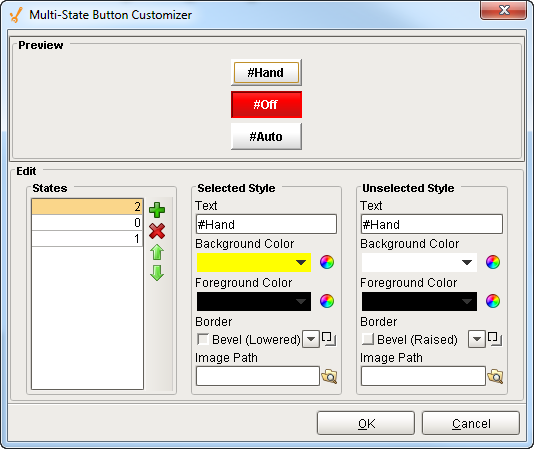
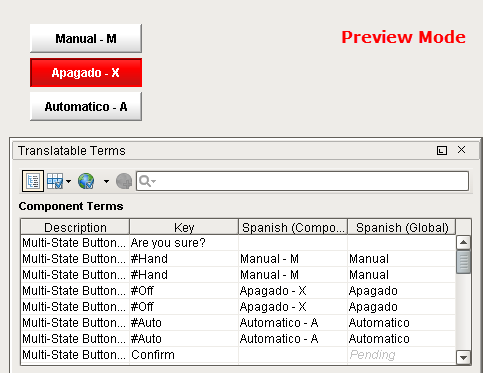
This example uses the Multi-State Button component. The only way to change the states / words on the buttons (i.e., Hand, Off, Auto) is to use the Multi-State Button Customizer. Add the
"#"
for each of the three Keys so they don't get translated by global terms that have already been set up.
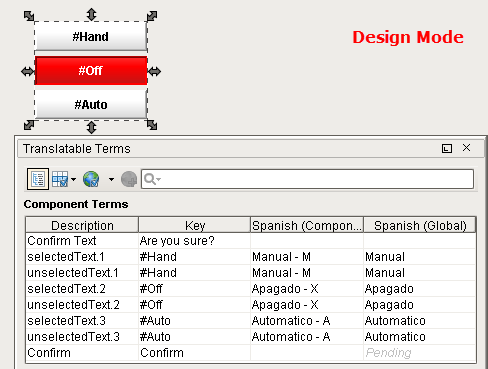
Here's what the translations look like in Design Mode and Preview Mode.
Using HTML for Text Wrapping
Another good practice is to use HTML to wrap text within your component's buttons, labels, etc.,. You can use it with translating terms that contain lots of text. HTML is just a good way to wrap text to fit within a label and button components.
-
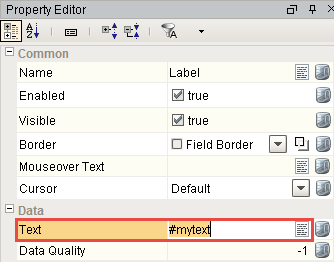
In the Property Editor of a Label component, go to the Text property and give the Text a unique name (i.e., #Mytext).
-
Right click on the Label component, and click on Translations. Double click on the row for Mytext. Enter the text as shown below for both the Spanish Global and English Global translations. Make sure you precede your text with "<HTML>." Click the Back link.
Mytext#English<html>This is some long text and I want to wrap it#Spanish<html>Este es un texto largo y quiero que se envuelva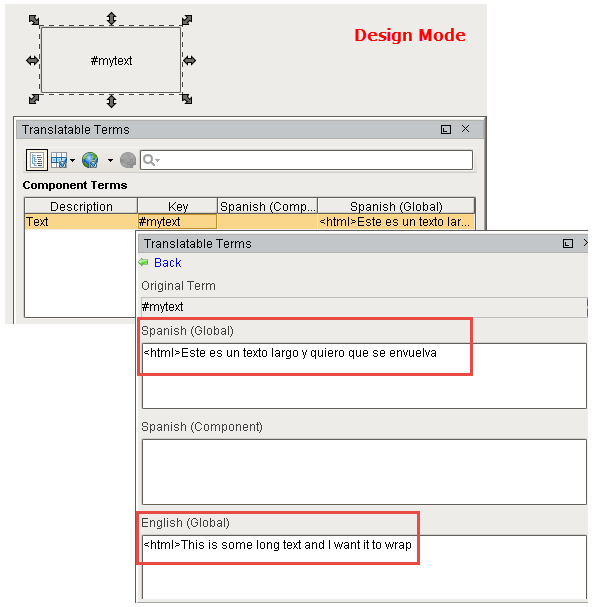
-
Once in Preview Mode, your long text will be wrapped!
